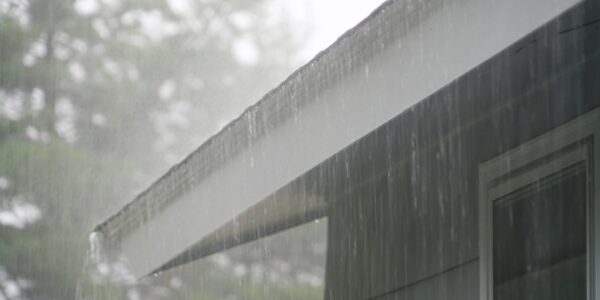
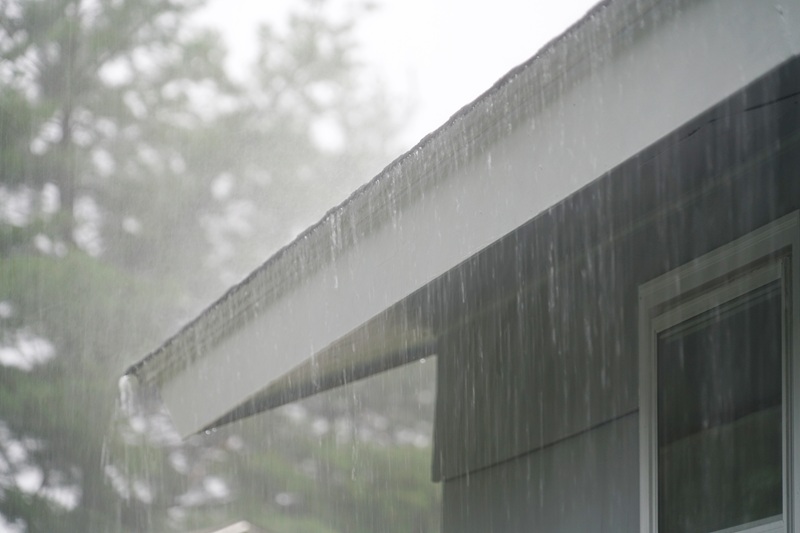
Gutter Replacement

Steven Shortridge
District Manager
Portland, Oregon
Expertise
- Roofing
- Siding
- Windows
- Bathtubs & Showers
- Solar Shingles
- Energy Efficient Home Upgrades
Follow Steven
About The Author
With over 14 years of experience in residential remodeling, Steven has been an essential member of the DaBella team since 2015. Specializing in roofing, siding, windows, bathtubs, showers, solar shingles, and energy-efficient upgrades, Steven brings unparalleled expertise to every project.
As a seasoned home improvement expert, Steven’s insights provide invaluable guidance for homeowners seeking top-notch solutions. From roofing renovations to energy-efficient upgrades, his dedication to superior quality and efficiency ensures excellence in every home improvement project.
Join Steven as he shares his wealth of knowledge and experience through informative and insightful blog posts designed to help homeowners make informed decisions and transform their homes with confidence.
Articles Written By This Author


-
Will Insurance Cover Defective Shingles?

When shingles begin failing ahead of schedule, the first question most homeowners ask is whether their insurance policy will pay for the damage. The answer depends heavily on the cause of the failure, the language in your specific policy, and the evidence available to support your claim. Understanding how insurers draw the line between a… Read more
-
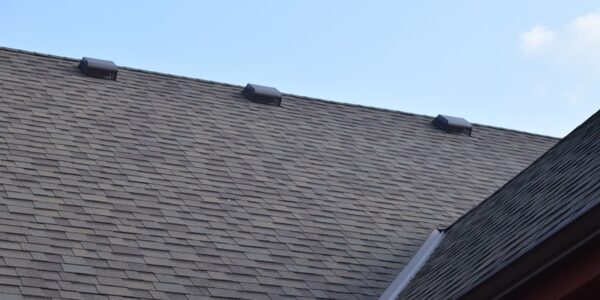
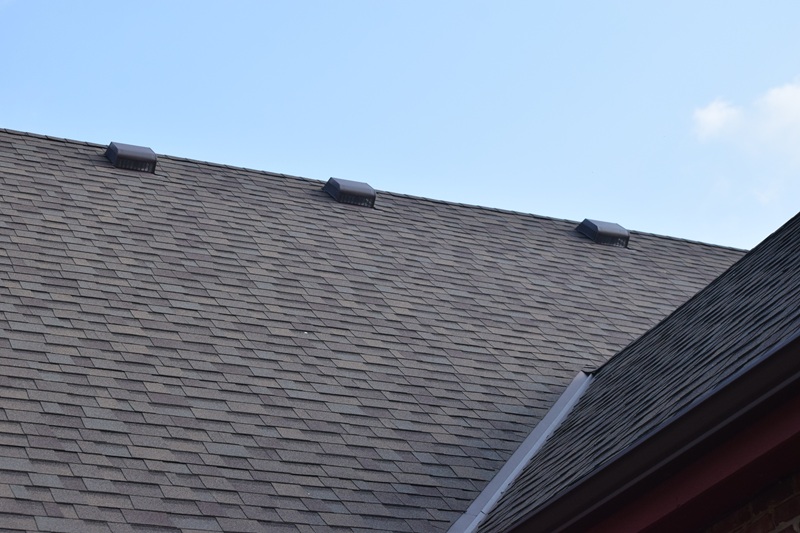
Common Problems with Roof Shingles: Causes, Signs, and Fixes
Your roof shingles are the first line of defense between your home and the elements. Like any building material exposed to the outdoors year-round, they are subject to a range of problems that can compromise their function and shorten their lifespan. Understanding what to look for, why these issues occur, and how they can be… Read more
-
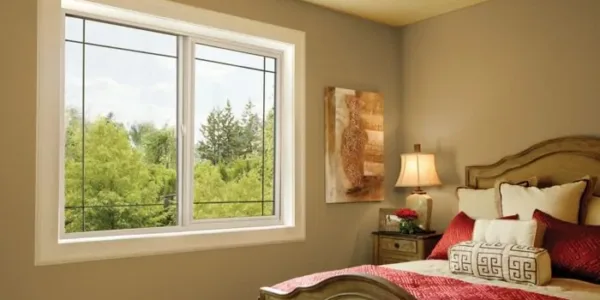
What Is a Good PG Rating for Windows?

Replacing windows is one of the most impactful investments a homeowner can make and understanding how windows are rated is the first step toward making a smart choice. The Performance Grade (PG) rating is one of the most important numbers you will encounter in that process. What Is a Performance Grade (PG) Rating? The Performance Grade (PG) rating is… Read more
-
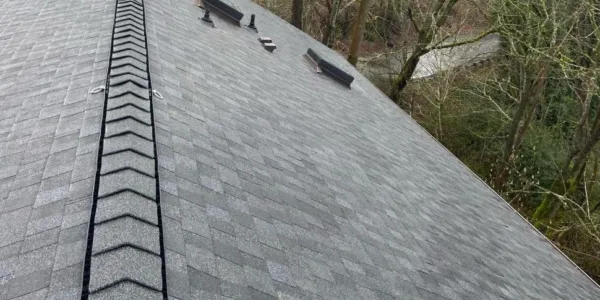
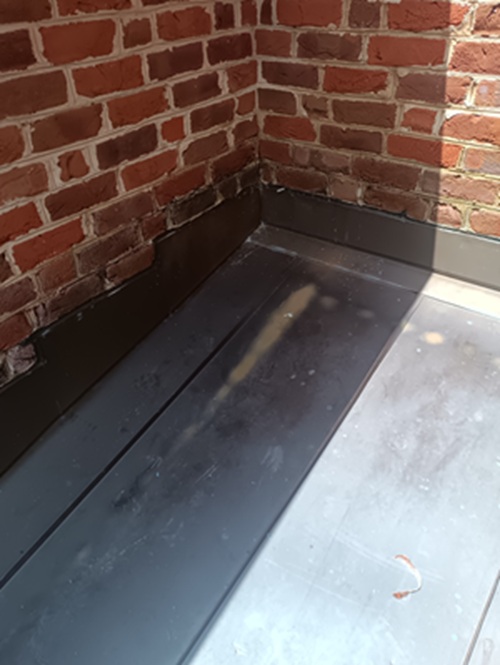
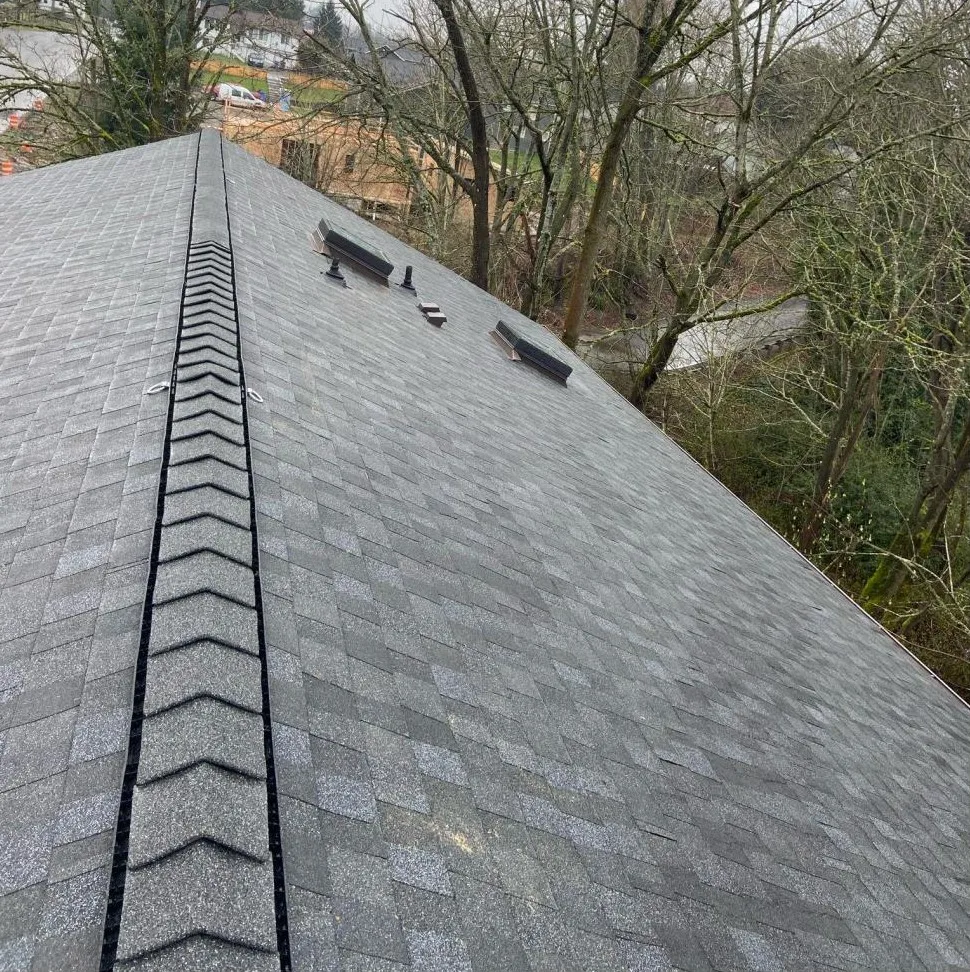
How to Divert Water from Roof Valleys
A roof valley forms where two sloping roof surfaces meet, creating a channel that collects and concentrates rainfall from both planes. Because water from a substantial portion of the roof funnels into a single linear path, valleys move a significantly higher volume of water than any other section of the roof. When that water reaches the base of the… Read more
-
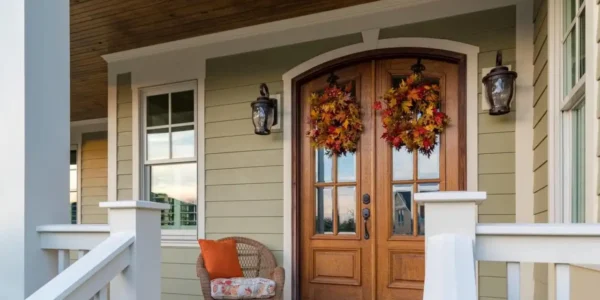
Can You Replace Bay Windows with a Flat Window?
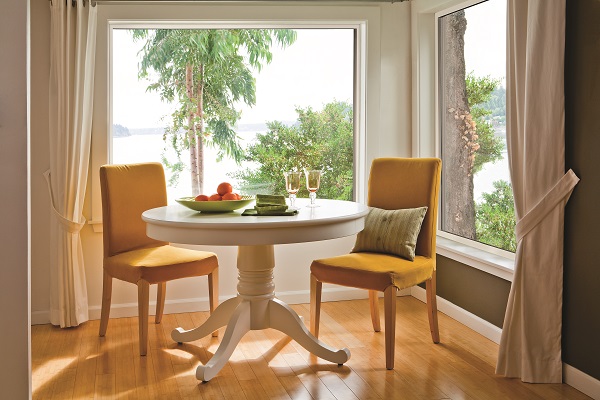
Yes, replacing a bay window with a flat window is entirely possible, and it is a project that many homeowners choose to undertake for a variety of practical and aesthetic reasons. The conversion involves structural modifications, proper permitting, and careful material selection, all of which require professional oversight to ensure the process is completed safely and… Read more
-
What Is Oil Canning on a Metal Roof?
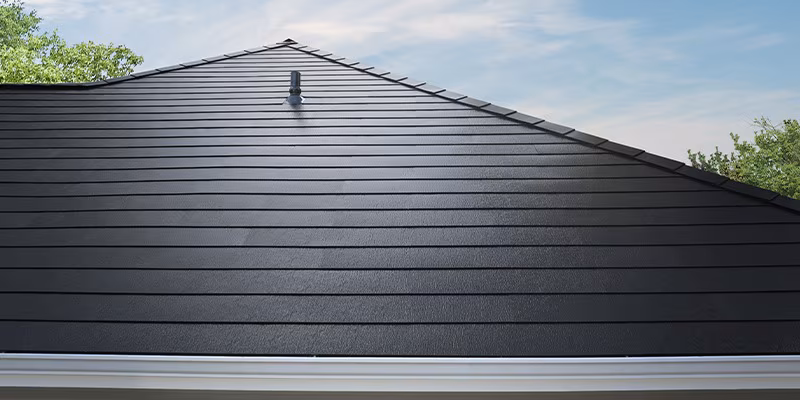
If you have ever looked up at a metal roof and noticed what appears to be subtle waves or ripples across an otherwise flat panel surface, that is oil canning. It is a common occurrence in the metal roofing industry and what causes oil canning and how to address it will help you make more informed decisions throughout… Read more
-
What is a DP Rating on a Window?

When shopping for replacement windows, you may come across the abbreviation “DP” at some point during your research. It sounds like industry jargon, but once you know what it means, it becomes one of the most useful tools for evaluating whether a window is built to handle the conditions your home faces. Design Pressure Ratings A Design Pressure… Read more
-
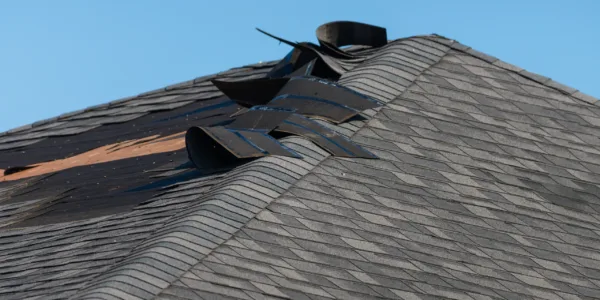
Wind Damage to Roof: Signs of Damage and How to Protect Your Home
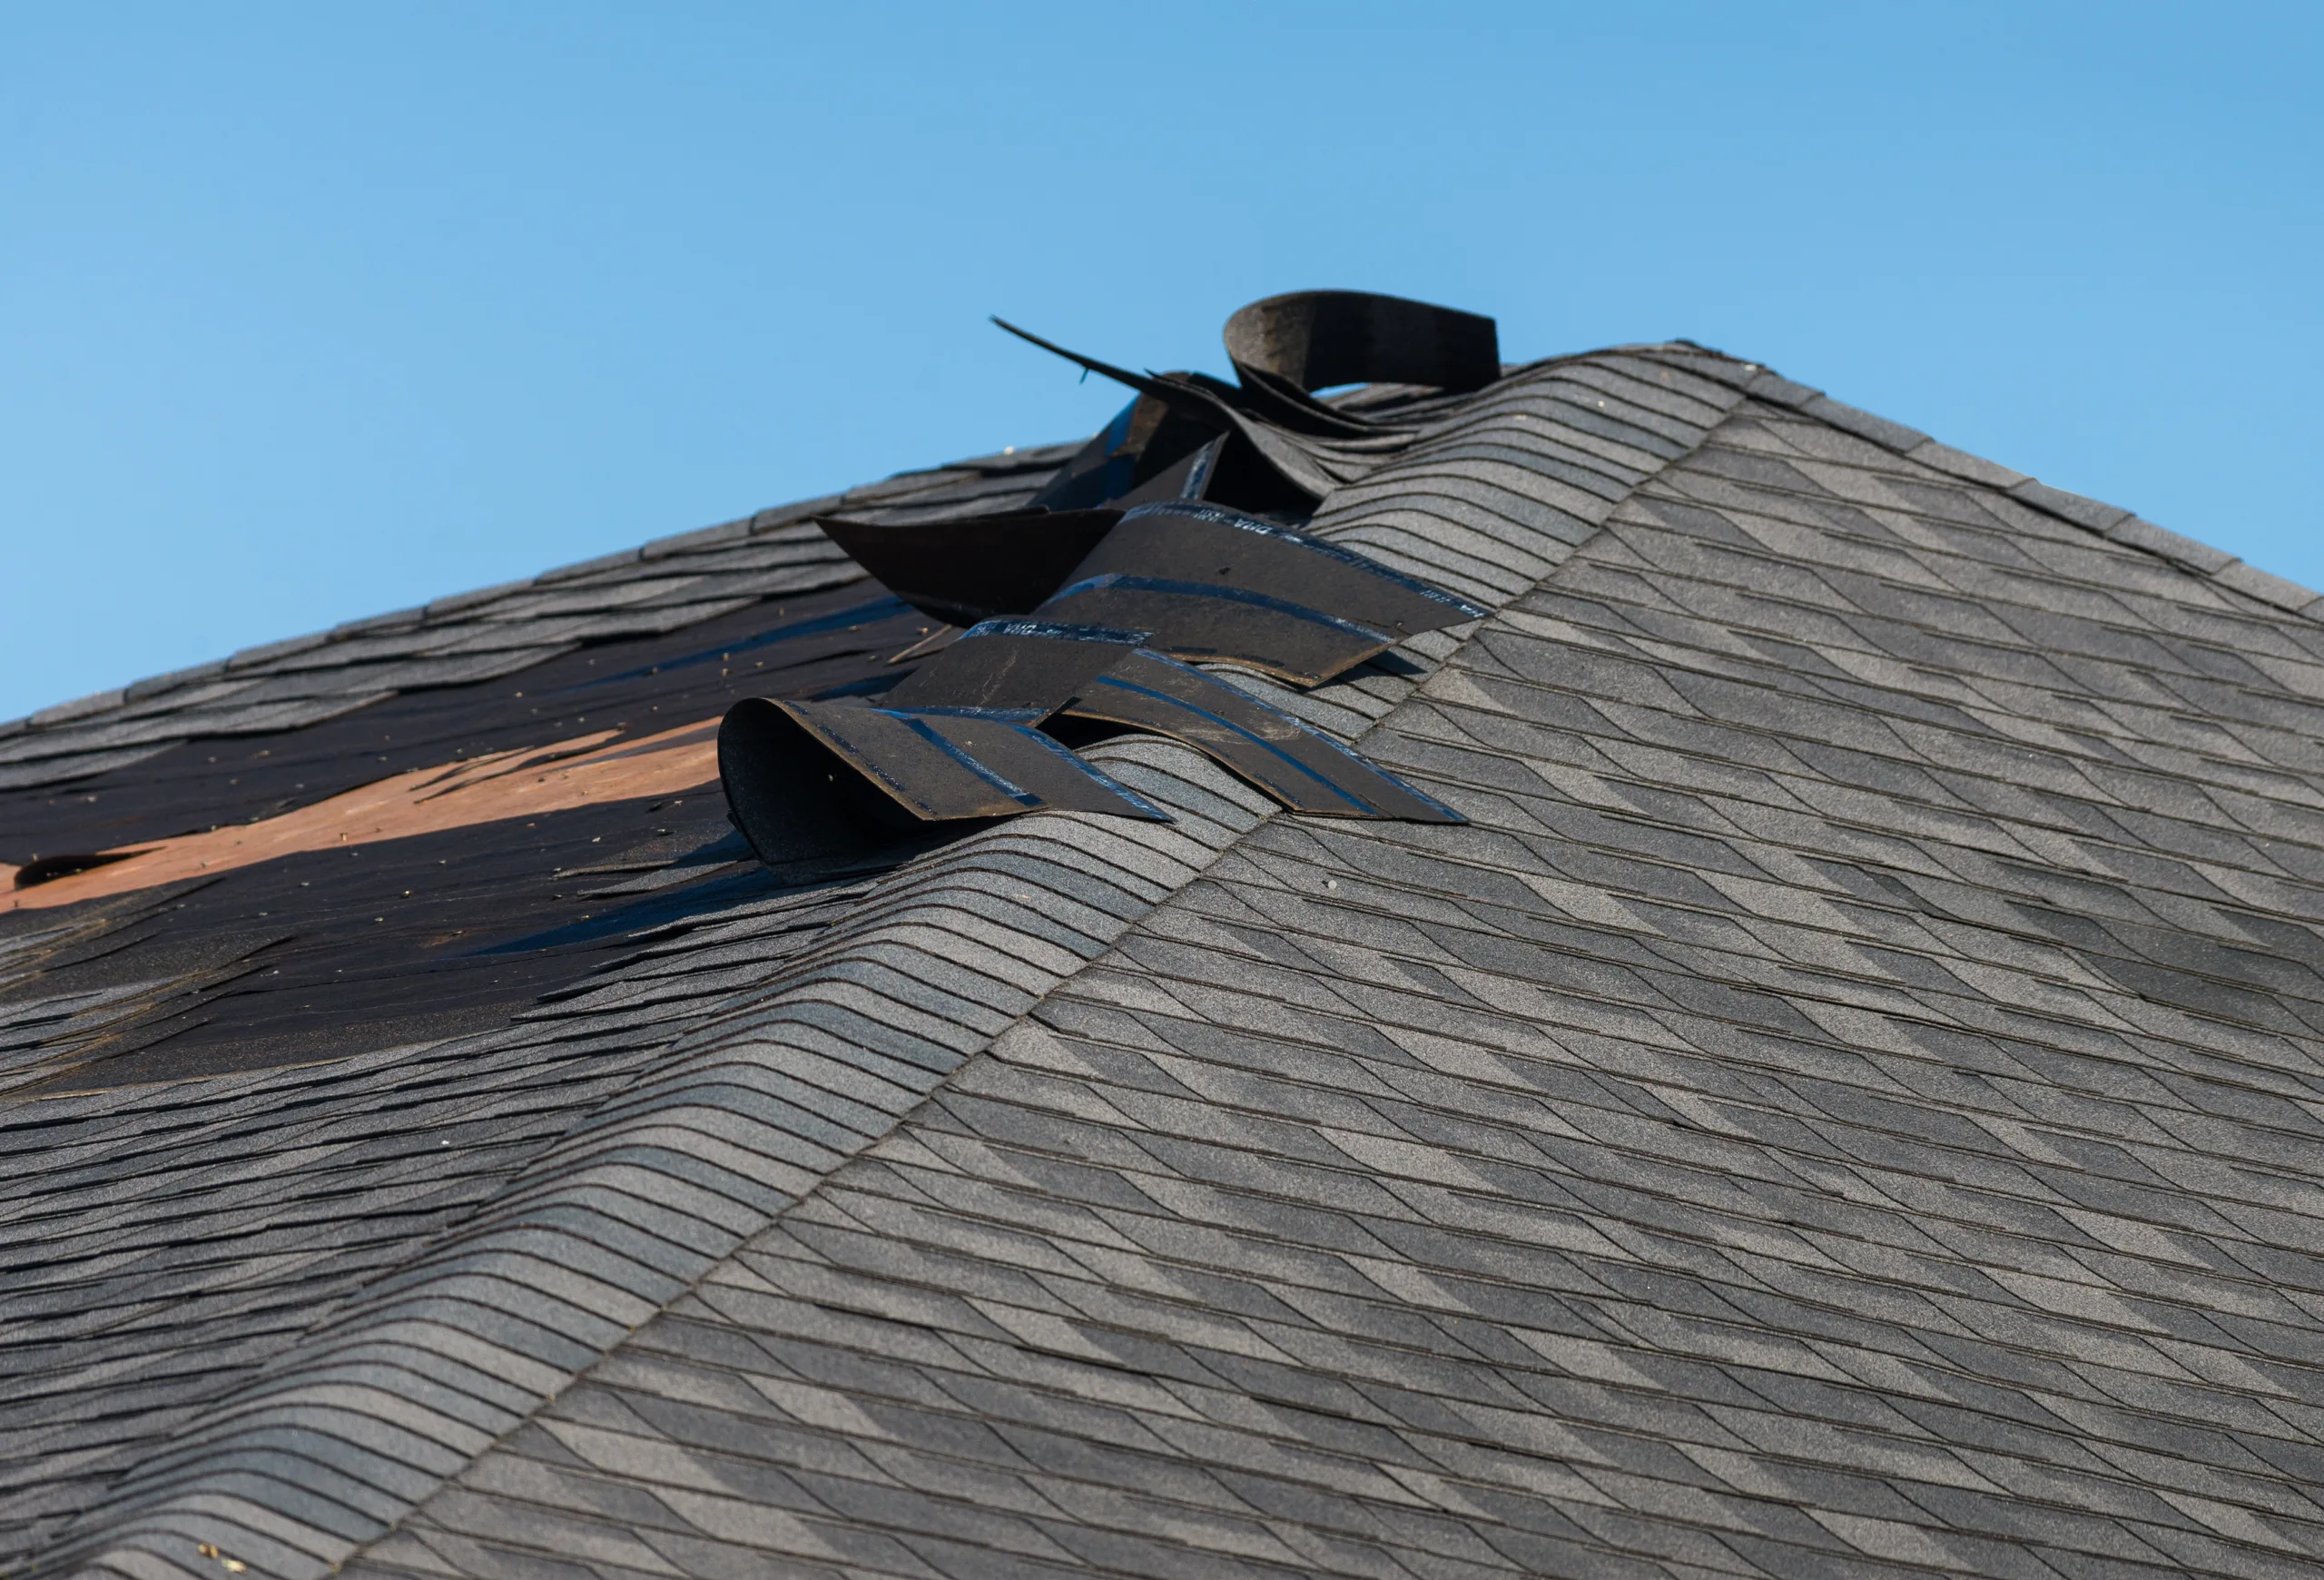
Wind damage to a roof occurs when strong gusts lift, loosen, or remove roofing materials, leaving the underlying structure vulnerable to leaks and long-term deterioration. What makes wind damage particularly challenging is that it does not always announce itself with an obvious, immediate problem. Shingles can lift and partially resettle; flashing can loosen without separating entirely, and… Read more
-
What Is a Roof Valley?
A roof valley is the V-shaped channel where two sloping roof planes meet. Because it sits at the intersection of two slopes, every drop of rain or snowmelt that falls on either adjoining roof section flows directly into and through the valley before reaching the gutters. That concentrated flow makes valleys one of the most important and… Read more
-
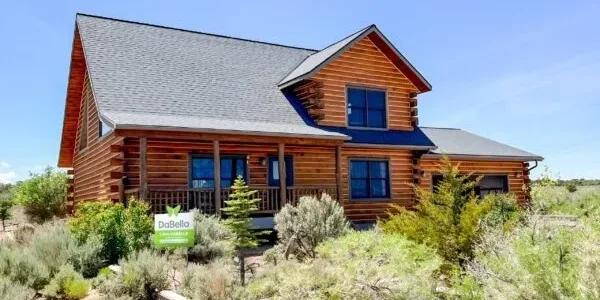
Metal Roof vs. Shingles: What is Best for Your Home?
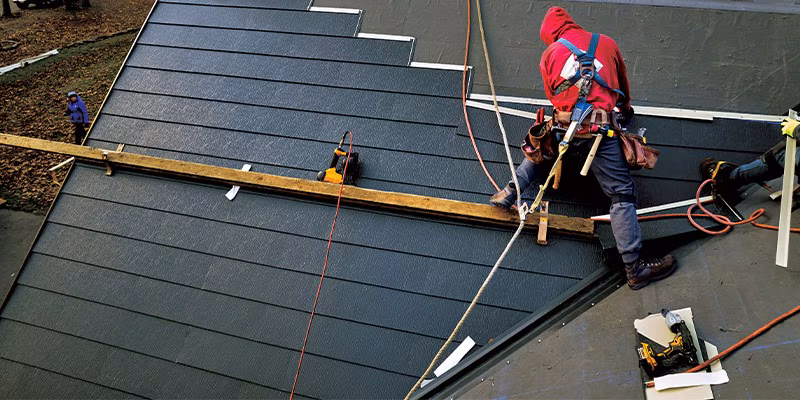
Choosing between a metal roof and asphalt shingles is one of the most consequential decisions a homeowner faces during a roof replacement. Both materials provide reliable protection, but they differ significantly in upfront cost, lifespan, maintenance demands, and long-term value. Understanding those differences in concrete terms is what allows you to make a choice that… Read more
●●●
No more posts